

Step By Step Guide To Clean Air Vents Like A Pro
When was the last time you cleaned your air vents? The majority of homeowners neglect this important chore, believing that as long as their HVAC systems are operating effectively, vents will stay clean. But with time, air vents gather allergens, dust, mould spores and other contaminants that affect the quality of the air inside your home. This can lead to allergies, breathing issues, and unpleasant odours lingering around your home.
If you expect to move out soon, cleaning your air vents can have an impact on your bond refund. Many professional bond cleaning Gold Coast services include air vent cleaning as a necessary checklist item for a perfect final inspection. However, if you prefer to do it yourself, then here is a full step by step guide, to cleaning your air vents like a pro and breathing fresher air every day. After all, a little effort now can save you money and health problems later.
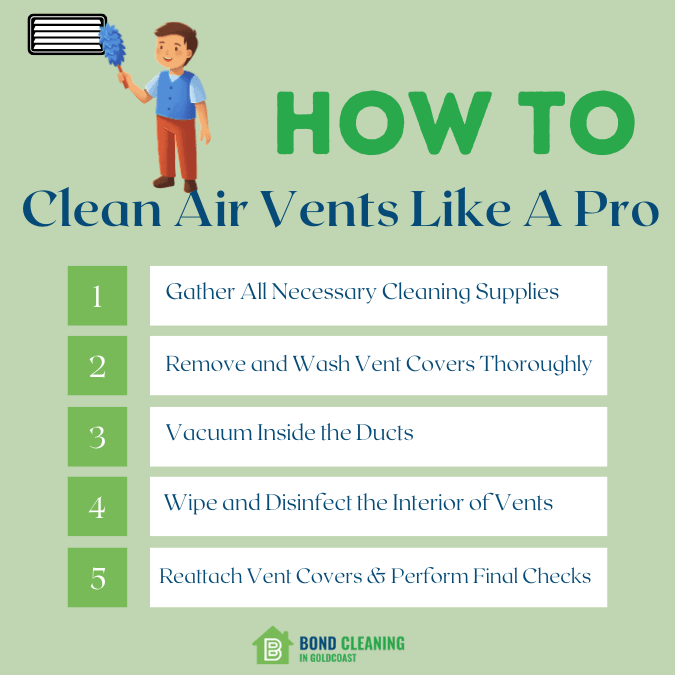
1. Gather All Necessary Cleaning Supplies
To avoid running about in the middle of cleaning, make sure you have all of your supplies ready before you begin. Here are the main items you will need
- Screwdriver
- Microfibre cloths
- Vacuum cleaner with hose attachment
- Warm, soapy water
- Soft brush or old toothbrush
- Disinfectant spray or white vinegar solution
Being organised will result in a smooth and effective cleaning process, saving your time and effort. When your tools are ready, turn off the HVAC system for safety. Cleaning with the system turned on can cause dust to circulate in neighbouring rooms or blow directly onto your face. This would make the process unpleasant and useless. Professionals that handle bond cleaning Gold Coast projects, usually plan ahead of time to execute duties promptly and efficiently.
2. Remove and Wash Vent Covers Thoroughly
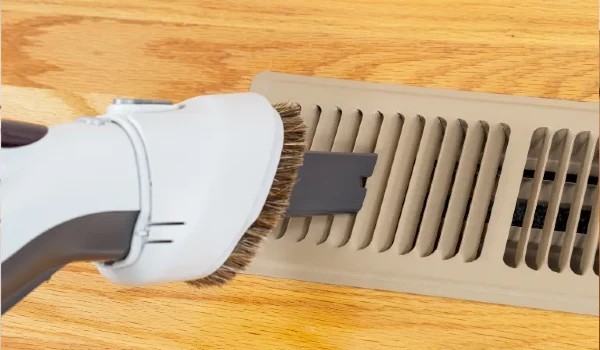
Your vent covers are the first defence against dirt entering your HVAC system, so they often accumulate the highest amount of dust. Start by unscrewing each vent cover carefully using a screwdriver. Place them in a bucket or bathtub filled with a little warm, soapy water and let them soak for 10 to 15 minutes to loosen all grime, grease, and trapped dust particles.
After soaking, then use a soft brush or an old toothbrush to scrub away any stubborn dirt, focusing on the slits and corners. Rinse them thoroughly under water and let them air dry completely before reinstalling. Cleaning vent covers not only makes them look new but also improves air circulation, a very important step recommended in the cleaning checklist for tenants.
3. Vacuum Inside the Ducts
Once your vent covers are drying, it’s time to clean the ducts themselves. These hidden passages can accumulate large amounts of dust, pet hair, and allergens if not cleaned regularly. Use your vacuum cleaner’s hose attachment to reach as far as possible into the duct. Slowly vacuum along the walls and floor of the duct, making sure you pick up all visible dust and debris.
If your vacuum hose isn’t long enough, consider using a flexible dryer vent cleaning brush to dislodge deeper dirt, which you can then vacuum out. This extra step will drastically improve your indoor air quality by preventing dust from blowing back into your rooms. Always remember to clean carefully, as ducts are often neglected but essential to maintain hygiene, especially before move out inspections.
4. Wipe and Disinfect the Interior of Vents
After vacuuming, there might still be sticky grime or mould buildup inside the ducts, especially if moisture levels are high. Take a damp microfibre cloth dipped in warm soapy water and wipe the inside surfaces of the vent as far as your hand can reach. This will help you to remove any remaining dirt that your vacuum couldn’t pick up.
If you notice mould or mildew, spray a disinfectant cleaner, or a solution of water and white vinegar to kill bacteria and freshen up the vents. Let it sit for a few minutes before wiping it off. This crucial step will ensure your home smells fresh and your air remains clean, just like the standards maintained in professional bond cleaning Gold Coast services.
5. Reattach Vent Covers and Perform Final Checks
Now that your vents and covers are clean and dry, it’s time to put everything back together. Carefully screw the vent covers back into place and make sure that they are aligned properly. Avoid over tightening the screws to prevent any damage to the cover frames, or your walls.
Finally, turn your HVAC system back on and check the airflow from each vent to ensure nothing is blocked. Enjoy the immediate freshness in your rooms and take pride in your pro level cleaning skills. Regularly cleaning your air vents every 3 to 6 months can improve air quality, reduce allergens and extend the lifespan of your HVAC system, an investment in health and home maintenance.
Cleaning Air Vents Like A Pro Infographic
Wrapping Up
Cleaning your air vents may seem like a tedious job but breaking it down into organised steps makes it manageable. Whether you’re doing it as part of regular cleaning or preparing for a move out then this blog will help you achieve professional results without the hefty service cost. Clean vents mean healthier air, better HVAC efficiency, and a comfortable living environment.